
Dell Thunderbolt Firmware, Thunderbolt docks on Dell Precision laptops can stop outputting video if the Thunderbolt controller firmware, dock firmware, BIOS, and Windows drivers get out of sync. A common symptom is “video works via simple USB-C adapter, but not via Thunderbolt dock.” Another is the dock firmware updater failing part-way (for example WD19TB version 69.84). This guide gives you a concise, proven sequence to get displays working again.
Applies to
• Laptops: Dell Precision 7550 and similar Precision models
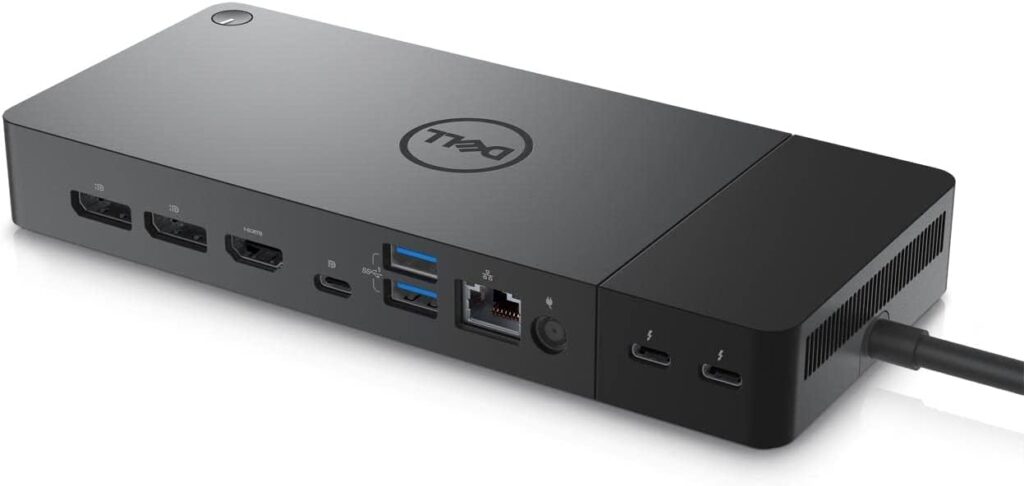
• Docks: WD19TB (model 0x09C3), WD22TB4, and related Dell Thunderbolt docks
• OS: Windows 11 (including LTSC), Windows 10
Typical Symptoms
• No display output through Thunderbolt dock, but USB-C HDMI dongle works
• Dock firmware updater fails to apply or partially applies (e.g., 69.84 on WD19TB)
• Thunderbolt Control Center does not prompt to authorize the dock
• Dock cable LED stays amber instead of turning white
• Device Manager shows issues with the Thunderbolt controller or it is missing under System Devices
Pre-checks
• Use the OEM 130W or recommended Dell power supply on the dock
• Connect only the laptop and dock during updates (no monitors, USB devices, Ethernet)
• Use the primary host Thunderbolt cable that shipped with the dock
• Log in as a local admin and run all flashers “Run as administrator”
Dell Thunderbolt Firmware Update Issues Recommended Order of Operations (do these in order)
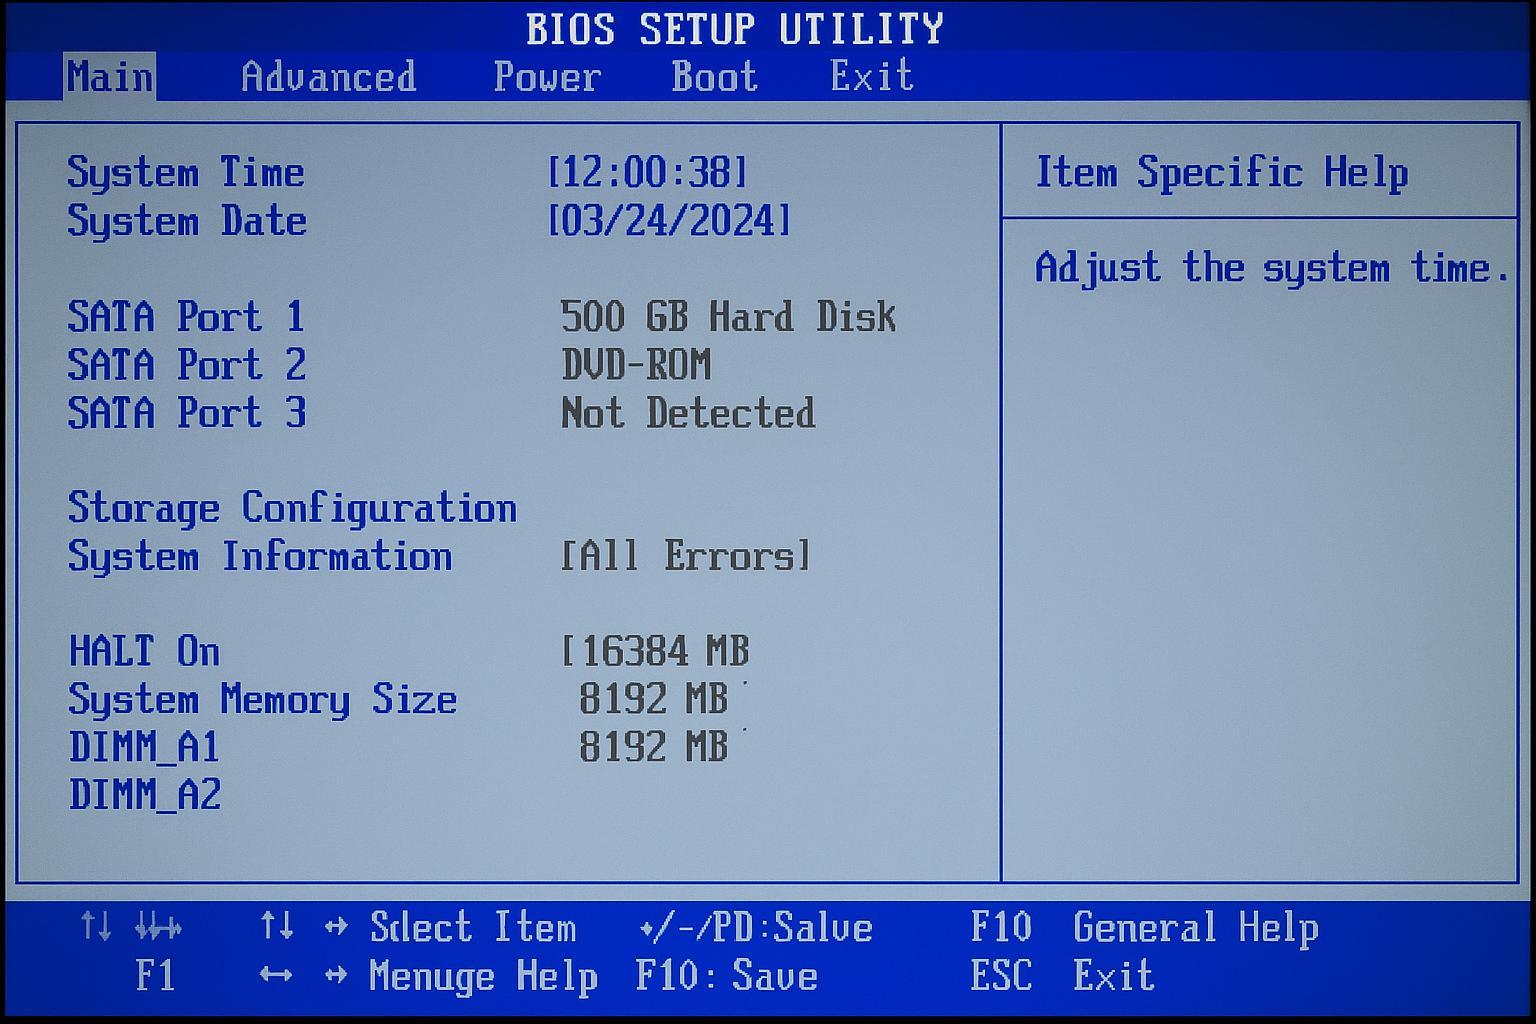
- BIOS sanity check
• Boot to BIOS (F2).
• System Configuration → Thunderbolt Adapter Configuration:
– Enable Thunderbolt
– Enable Thunderbolt Boot Support (optional but helpful)
– Security Level: set to No Security or User Authorization for testing
• Save and exit. - Clean install Thunderbolt software stack
• In Apps & Features, uninstall “Thunderbolt Control Center” and any Intel Thunderbolt software.
• Reboot.
• Install the latest Dell-provided Thunderbolt driver package for your exact laptop model.
• Reboot again. - Update the laptop’s Thunderbolt controller firmware
• Disconnect the dock.
• Run the Dell Thunderbolt Controller Firmware Update Utility for your laptop model as Administrator.
• Reboot when it finishes. If the controller firmware refuses to flash:
• Update to the latest BIOS. If it still fails, roll back one BIOS version, flash the Thunderbolt controller, then update BIOS back to latest. - Update the dock firmware
• Keep all peripherals disconnected from the dock. Dock power brick connected.
• Connect the laptop to the dock with the host cable.
• Run the Dock Firmware Update Utility for your exact dock model (WD19TB, WD22TB4, etc.).
• Reboot when complete. - Reconnect and authorize
• Connect monitors and peripherals to the dock.
• Plug the dock into the laptop.
• Open Thunderbolt Control Center and approve the device if prompted.
• The dock LED should turn white. Test display output.
Windows 11 LTSC Notes
• Some Dell dock/controller updaters depend on UWP components that are missing on LTSC. If the updater errors repeatedly on LTSC, temporarily perform the firmware flashes from a standard Windows 11 Pro install, then return to LTSC.
• Ensure all cumulative Windows updates are installed before flashing.
If You Still Get No Video
• Force audio/video to basic modes: set TV/monitor to a simple HDMI input, disable unusual color/VRR modes while testing.
• Swap the host Thunderbolt cable.
• Try a different USB-C/Thunderbolt port on the laptop if available.
• In Device Manager, View → Show hidden devices; remove stale displays and docks under Monitors, Network adapters, USB devices, then Scan for hardware changes.
• Test with one monitor at a time on a plain HDMI connection from the dock.
• Try another known-good WD19TB/WD22TB4 if available to rule out hardware.
Rollback and Recovery Tips
• BIOS rollback by one version can allow the Thunderbolt controller firmware to flash; update BIOS back to latest afterward.
• Full power drain: shut down, unplug AC, disconnect dock, hold power button 20 seconds, then reconnect.
• If the Thunderbolt controller appears missing or bricked, contact Dell support and request a controller recovery re-flash.
Quick Checklist (copy/paste for field use)
• BIOS: TB enabled, Security Level = No Security/User Authorization
• Uninstall TB software → reboot → install Dell TB driver → reboot
• Flash laptop TB controller (no dock connected)
• Flash dock firmware (only dock + AC + host cable)
• Reconnect, authorize in TB Control Center, check dock LED turns white
• If fail: update/rollback BIOS, try flashing from non-LTSC Windows, replace cable
Dell Thunderbolt Firmware Update Issues FAQ
Q: It worked with a USB-C HDMI dongle. Why not the dock?
A: USB-C display alt-mode is simpler. Thunderbolt requires a controller handshake plus matching dock and controller firmware.
Q: WD19TB 69.84 firmware fails every time.
A: Flash the laptop’s Thunderbolt controller first, from a fully updated Windows install. If still failing, try one BIOS version back, flash, then return to latest BIOS. As a last resort, flash from non-LTSC Windows.
Q: The Thunderbolt Control Center never prompts to approve the dock.
A: Security Level in BIOS may be too strict, or the controller firmware/driver is not aligned. Set Security Level to No Security for testing, reinstall the TB driver, reboot, and reconnect.
Q: The dock LED stays amber.
A: The Thunderbolt link is not established. Recheck firmware on both sides, cable, and Security Level.
Closing
Dell Thunderbolt issues are almost always about sequence. Align BIOS settings, install the Dell Thunderbolt driver, flash the laptop’s Thunderbolt controller, then flash the dock. If you are on Windows 11 LTSC and the updaters fail, do the flash from a standard Windows environment, then return to LTSC. If the controller will not flash at all, Dell can perform a recovery re-flash.
BUY NOW