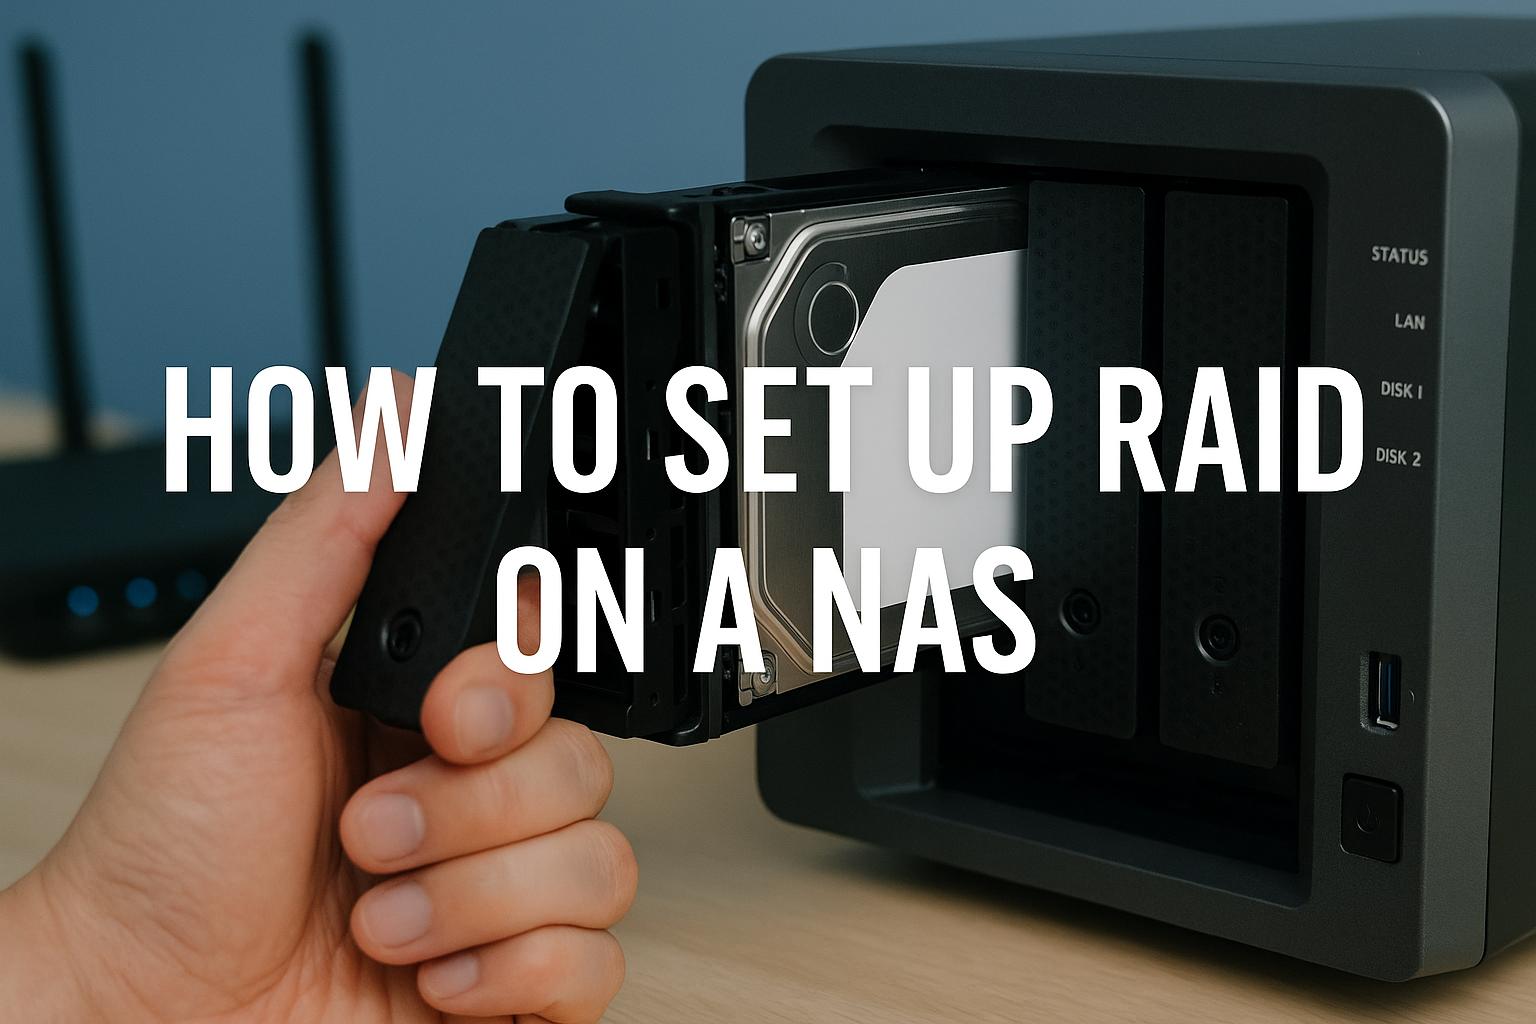
- How to Set Up RAID on a NAS
- What is RAID?
- Common RAID Levels for NAS
- Which RAID Should You Choose?
- Setting Up RAID on Synology NAS (e.g., DS220+, RS1221+)
- Setting Up RAID on QNAP NAS (e.g., TS-464)
- Best Drives to Use in a NAS RAID
- Monitoring and Maintaining RAID
- Troubleshooting RAID Issues
- Real-World Scenarios
- How to Set Up RAID on a NAS Final Thoughts
How to Set Up RAID on a NAS
How to Set Up RAID on a NAS (Step-by-Step Guide for 2025) One of the most important steps when configuring a NAS (Network Attached Storage) for home or small business use is setting up RAID. RAID — short for Redundant Array of Independent Disks — ensures your data is safe from drive failures while improving performance in some cases.
If you’ve just purchased a NAS such as a Synology DS220+, Synology RS1221+, or QNAP TS-464 (all popular, reliable models available on Amazon), this guide will walk you through how to set up RAID properly, which RAID level to choose, and how to keep your data secure in 2025.
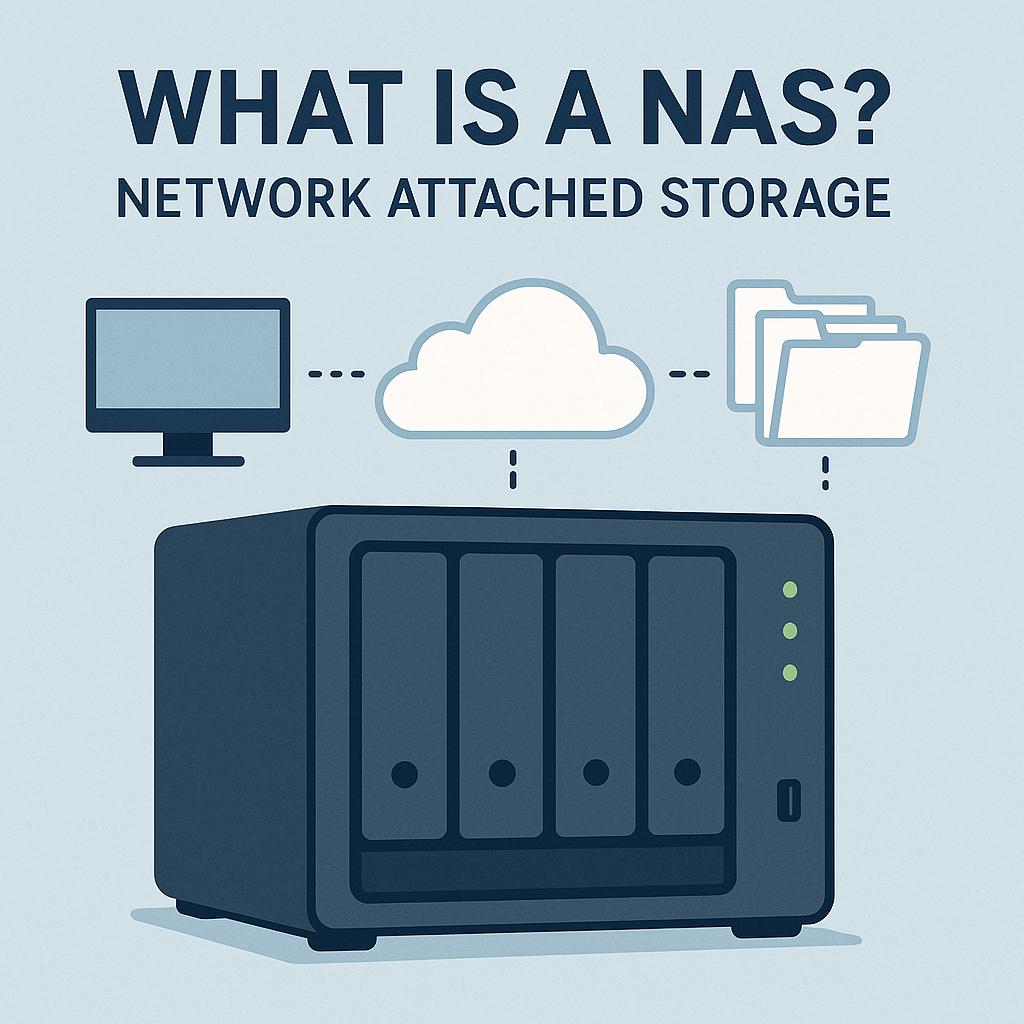
What is RAID?
RAID combines multiple hard drives (HDDs or SSDs) into one storage volume. Depending on the RAID level you choose, it can provide:
- Redundancy (protection against disk failure)
- Performance improvements (faster read/write speeds)
- A balance of both
It’s important to remember: RAID is not a backup. It protects against drive failure, but not accidental deletions, ransomware, or theft. You still need external backups (cloud or USB drives).
Common RAID Levels for NAS
When setting up a Synology or QNAP NAS, these are the RAID levels you’ll see:
- RAID 0 (Striping): Maximum performance, no redundancy. One disk failure = total data loss. Not recommended for business use.
- RAID 1 (Mirroring): Data is mirrored across two drives. Safe, simple, but storage capacity is halved.
- RAID 5: Requires at least 3 drives. Balances redundancy and performance. Can survive one drive failure. Popular for small business.
- RAID 6: Requires at least 4 drives. Can survive two drive failures. Good for higher reliability.
- RAID 10: Combines RAID 1 and 0. Needs at least 4 drives. Great performance + redundancy, but higher drive cost.
- SHR (Synology Hybrid RAID): Synology’s flexible RAID option. Lets you mix drive sizes and still get redundancy. Perfect for beginners.
Which RAID Should You Choose?
- Home users: RAID 1 (simple mirroring) or SHR if using Synology.
- Small business: RAID 5 for 3–5 drive systems, or RAID 6 for extra protection.
- Performance-focused workloads (e.g. video editing): RAID 10.
If you’re new to RAID and just want safety with minimal hassle, Synology Hybrid RAID (SHR) is the easiest option.
Setting Up RAID on Synology NAS (e.g., DS220+, RS1221+)
Synology NAS devices use DiskStation Manager (DSM), a very user-friendly web interface.
Step 1: Install the Drives
- Power off the NAS.
- Insert your chosen drives (HDDs or SSDs) into the bays. Use NAS-rated drives such as WD Red Plus or Seagate IronWolf.
- Power on the NAS and connect it to your network (router/switch).
Step 2: Access DSM
- From a PC, open a browser and type:
find.synology.comor use Synology Assistant. - Log in to DSM with the default admin account and set a secure password.
Step 3: Open Storage Manager
- Go to Main Menu > Storage Manager > Storage Pool.
- Select Create > Create Storage Pool.
Step 4: Choose RAID Type
- Select Custom or Quick setup.
- For beginners, choose SHR. For advanced users, select RAID 1, RAID 5, or RAID 6 depending on drive count.
Step 5: Allocate Volume
- Once the storage pool is created, allocate it to a volume where your data will live.
- Choose file system type: Btrfs (recommended for snapshots) or EXT4.
Step 6: Finalise and Build RAID
- DSM will start building the RAID. This can take several hours depending on drive size.
- You can still use the NAS while RAID is building, but performance may be slower.
Setting Up RAID on QNAP NAS (e.g., TS-464)
QNAP devices use QTS or QuTS hero as their operating system.
Step 1: Install the Drives
- Power off the NAS.
- Insert drives (HDDs or SSDs). QNAP also supports NVMe SSD cache if your model has slots.
- Power on the device and connect it to your network.
Step 2: Access QTS
- In a browser, go to:
http://nas-ip:8080. - Follow the initial setup wizard to create an admin password and configure network settings.
Step 3: Open Storage & Snapshots
- From the QTS desktop, open Storage & Snapshots.
- Click Storage/Snapshots > Storage Pool > Create.
Step 4: Choose RAID Type
- Select the drives you want to include.
- Choose your RAID level (RAID 1, 5, 6, 10).
- For beginners, RAID 1 or 5 is recommended.
Step 5: Create a Volume
- After creating the pool, create a volume.
- Choose Thick Volume (flexible space) or Static Volume (maximum performance).
Step 6: Finalise Setup
- QNAP will build the RAID. Like Synology, this may take hours depending on drive size.
- Enable Snapshots for extra protection against ransomware.
Best Drives to Use in a NAS RAID
When setting up RAID, the drives you choose matter. Consumer drives aren’t designed for 24/7 workloads. Instead, use NAS-rated drives:
- WD Red Plus (good for home and SOHO)
- Seagate IronWolf (reliable, strong warranty)
- Toshiba N300 (high capacity, cost-effective)
For maximum reliability, stick to enterprise models like Seagate IronWolf Pro or WD Red Pro if budget allows.
Monitoring and Maintaining RAID
Once RAID is built, maintenance is critical:
- Enable Notifications – Set up email or mobile app alerts for drive failures.
- SMART Tests – Run drive health checks monthly.
- Replace Drives Immediately – If a drive fails, swap it out quickly. RAID rebuilds take time, and a second failure can cause data loss.
- Update Firmware – Keep both NAS OS and drive firmware updated.
- Back Up Externally – Remember: RAID ≠ backup. Use cloud backup (e.g., Backblaze B2, Synology C2, Wasabi) or USB drives for full redundancy.
Troubleshooting RAID Issues
- Degraded Array: This means one drive has failed. Replace the failed drive immediately.
- Rebuilding RAID: Can take hours or days depending on drive size. Avoid heavy usage during rebuild.
- Inconsistent Array: Usually caused by improper shutdown. Run a consistency check in DSM/QTS.
- Performance Slowdowns: May indicate failing drives or RAID resync. Check logs and SMART data.
Real-World Scenarios
- Home User with 2-Bay NAS (Synology DS224+)
- RAID 1 (mirror) with 2 x 4TB drives. Simple, safe, good for backups and media.
- Small Office with 4-Bay NAS (QNAP TS-464)
- RAID 5 with 4 x 6TB drives. Balances storage, redundancy, and performance.
- Creative Studio with 8-Bay NAS (Synology RS1221+)
- RAID 6 with 8 x 10TB drives. High performance and double redundancy for mission-critical files.
How to Set Up RAID on a NAS Final Thoughts
Setting up RAID on your NAS is one of the most important steps in ensuring your data is safe and accessible.
- For beginners and home users: RAID 1 or Synology Hybrid RAID.
- For small businesses: RAID 5 for balance, RAID 6 if uptime is critical.
- For performance workloads: RAID 10 if you can afford the extra drives.
No matter which RAID level you choose, always remember: RAID is protection, not backup. Pair your NAS RAID with an offsite or cloud backup solution for true peace of mind.